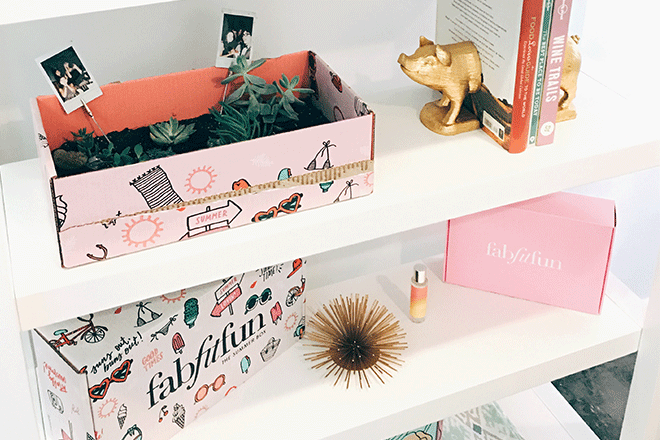
We’re smack dab in the middle of the summer, so finding ways to cool down in this heat wave is on the top of our to-do list.
If you’re lucky enough to have A/C, hanging out indoors with some Netflix and chill isn’t a bad idea. But if you’re looking to do something more active with your time, we’ve got the perfect DIY: a mini succulent garden!
It’s super practical and it’s a great way to recycle while brightening up your living space. Read on for our quick tutorial on how to create your own succulent garden:
Supplies:
1 FabFitFun Box (if you don’t have one yet, snag one today!) or an old shoe box
4-5 succulents of your choice
1 gallon Ziploc bag of potting soil
1 garbage bag
Duct tape
Box cutter
Scissors
2-3 photo clips
Decorations (i.e. stones, moss)
Directions:
 Step 1: Remove the top of your FabFitFun box using the box cutter.
 Step 2: Measure the garbage bag to the bottom of the box and mark the dimensions. Cut the garbage bag and use duct tape to secure it to the bottom of the box. This will protect the cardboard when watering the succulents.
 Step 3: Carefully use your scissors to poke holes throughout the bottom of the box. This will help to drain the excess water.
 Step 4: Fill your box with potting soil and leave around one inch at the top! Be sure to pat down the soil and spread it evenly throughout the box.
 Step 5: Now that your box is set up, it’s time to add your succulents! Make sure the succulents’ roots are completely submerged in the soil.
 Step 6: Your garden isn’t complete without a little bling! Add your desired decor to the box like tiny stones, colorful moss, or some adorable clips with photos.
 Step 7: Lastly, put your succulent garden in a spot where it’ll catch sunlight. Water your succulents once a week and give them enough water so that it runs out of the drainage holes.
 And you’re done! Share your succulent garden on Instagram and tag us @fabfitfun!
xx, The FabFitFun Team


